|
Caulking gun can generally be set up at seams of two resources, in corners, baseboards, doors and around the bathtub or surrounding. In order to re caulk a current seam or caulk a new seam the area needs to be clean of debris. In other words if you plan to re caulk your tub surround then you will need to remove the existing caulk. If you got the Pro Caulk process found on this page then you will have an old caulk subtraction equipment, otherwise you will use a fat flat screwdriver and a hammer to mold and scrape it out. If you are use this way then you need to take care not to damage the joining substrates by scratching them or chip the tub or tile tops. Usually if you get a piece of the caulk free you can hold it with a pair of pliers and tug it like a rope the whole distance of the wall or perhaps the whole surrounding. Be careful with old or loose tile as removing the caulk may cause the tile to pull from the wall, breaking in the bottom of the tub. Sometimes it’s a great thinking to run painter's blue tape around the bottom tiles of the surround to hold them in place and place an old comprehensive in the bottom of the tub to prevent breakage of anything that does fall from the wall and also to prevent your tools from scrabbling existing sides. 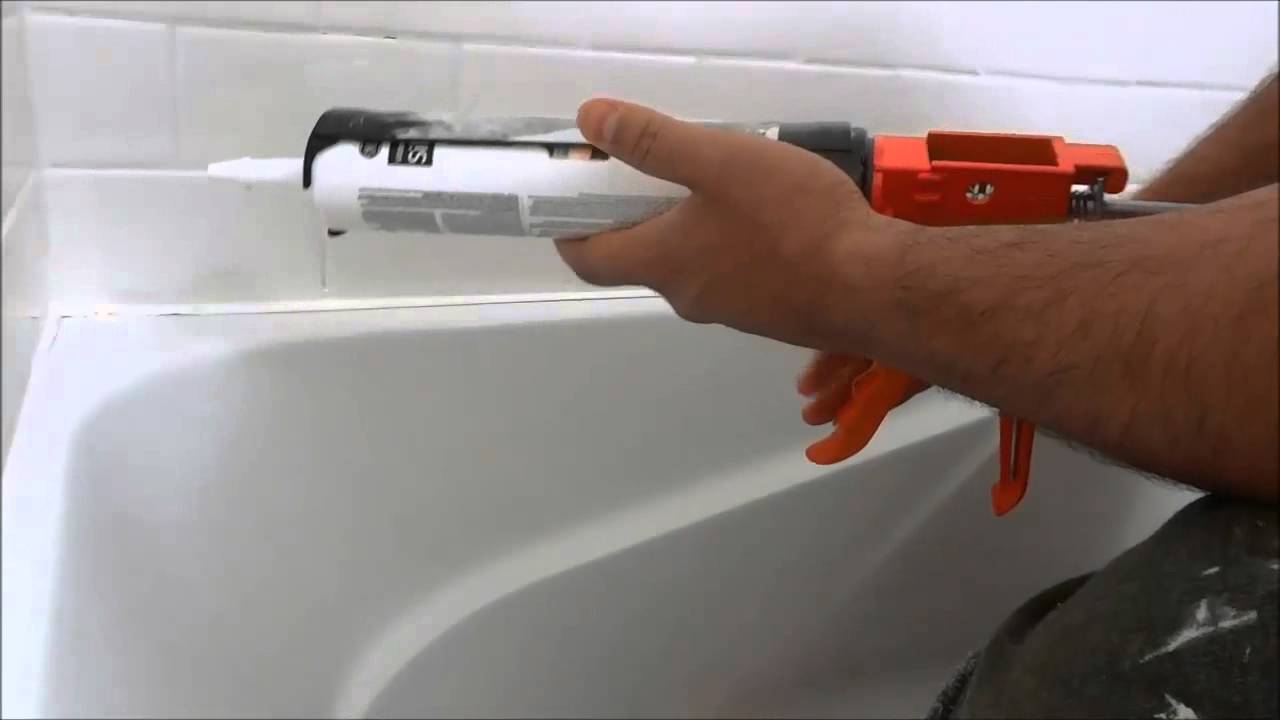 Similarly you can also tape the top of the tub surface about a quarter inch away from the wall to help protect the tub in case your screwdriver or carve slips. Once the old caulk has been removed, take a green brush pad or taut brush with or without soap and water and clean the shells of the seams until they are smooth, in the case of two wood substrates like doors, cabinets, baseboards use fine sandpaper to smooth the area to be caulked, however do not go beyond the area that the caulk will cover.
A better caulk bead is usually 1/8" to 1/4". If the area that you are caulking seems to be much larger than 1/4" you may need to fill the gap with expanding foam or repair the substrate first. If you use spray foam, let it dry then cut or sand the excess so that there is room to apply the caulk for a good improving and moisture proof seal. When using any of these way it is important to wear gloves, protective clothing and spectacles and also to uphold ventilation if you are working in a closed room. The next step after eliminating the old caulk and cleaning the area is to apply new caulk. A minor note, the material in putty lines is not caulk and caulk will not adhere to or replace grout. Likewise it is better to replace a tile or a soap dish with a proper ceramic adhesive or mortar. Caulk will not permanently adhere objects of any significant weight to a wall or ceiling. It is best to consult with a local ceramic tile dealer for instructions concerning these and larger repairs. Now as with most edifice mixtures there is a huge amount of information and technical data as to which caulk to use for any conceivable application. For general home use there are three basic kind silicone, acrylic and latex based. Latex caulk comes in white as well as an array of pastel colors. Silicone caulk can usually be found in white, black and clear and Acrylic caulk is generally white. Even though caulk can be painted it's best to just get it in the right color to begin with. Silicone caulk is the best for outdoor applications, but can be used anywhere. It is the most waterproof, but unless you are buying the Pro Caulk tools, it will be the most difficult to work with especially for tub surrounds. Latex based caulk is widely used for most indoor applications and it will be the easiest to work with and cleanup.
0 Comments
Leave a Reply. |
Archives
January 2019
Categories |
 RSS Feed
